BotSailor Reseller (Whitelabel) Package
BotSailor has three packages – Basic, Premium and White Label Reseller. To know more about the packages, see the full pricing. You can offer the BotSailor service to your customers under your own brand name if you use the BotSailor White Label Reseller program. That is, you can launch your own software service company using the BotSailor Reseller package.
Become a BotSailor Reseller
All you need to use the Botsailor White Label Reseller is a domain. The BotSailor is installed on our server, not yours. All you need is to point your domain to our server. Due to the fact that the BotSailor is already installed on our server, your end user can now access it via your domain name.
It's simple and fast to set up a Botsailor White Label Reseller. You may set up BotSailor Reseller Package in your domain quickly and easily by simply following a few simple steps.
BotSailor can be set up on a domain or a sub-domain.
Simply add our nameservers to your domain to set up the domain. Our nameservers are :
ns1.digitalocean.com
ns2.digitalocean.com
ns3.digitalocean.com
To setup BotSailor in a sub-domain, you simply need to add a "A Record"
in your hosting panel for your sub-domain that points to any our IPs : 134.209.100.100 or 157.245.63.118
The "A Record" should look like :
Hostname : subdomain.yourdomain.com
Points/directs to : 134.209.100.100 or 157.245.63.118
TTL : 3600 (any other value suitable for you)
Finally login to your BotSailor account and Go to Settings > General
Put the domain/sub-domain name in "WHITE-LABEL DOMAIN" input field and you are done.
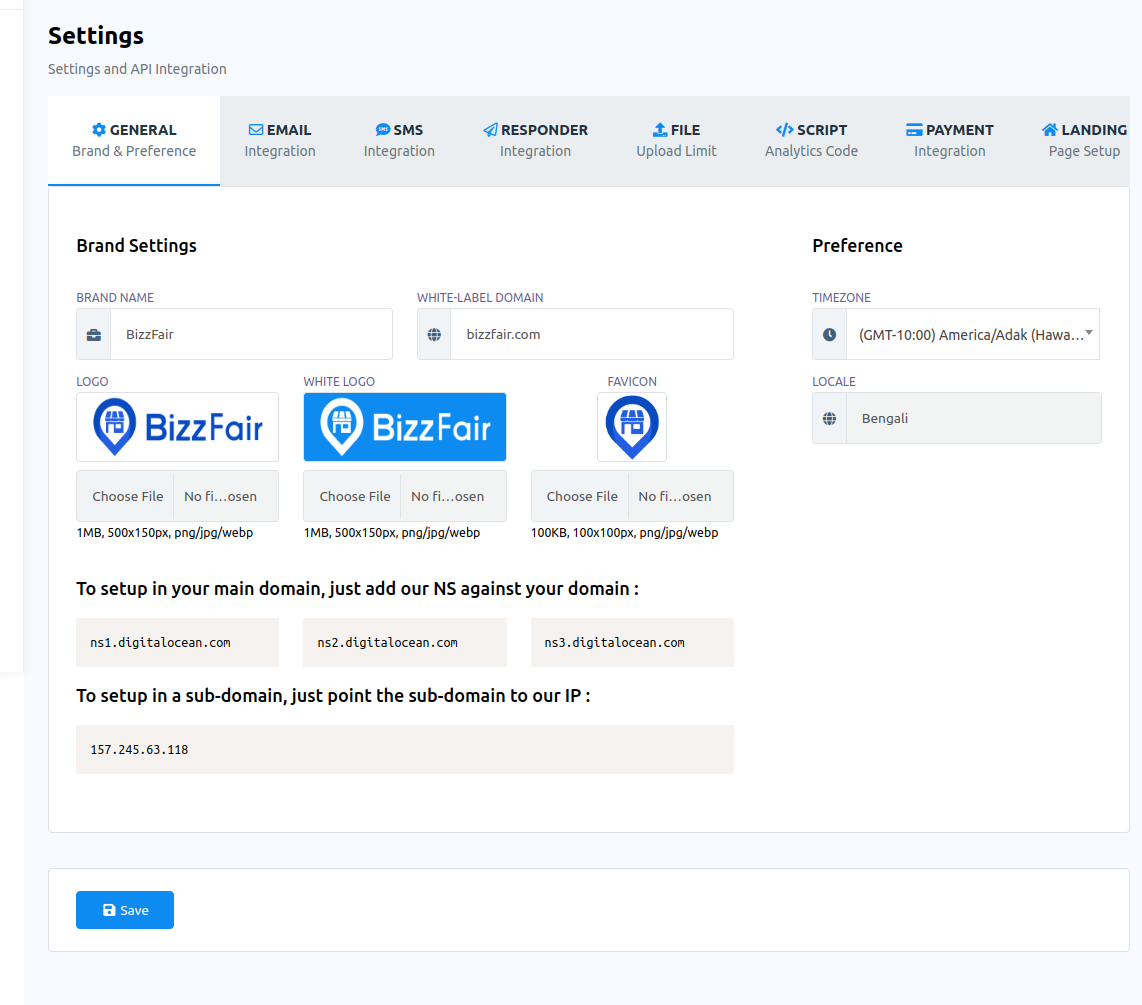
General Settings
Go to Settings menu, now select the General tab and you will get brand settings. Now you have to configure your brand settings.
In the Brand name field, write your brand name. In the White Label Domain Field, put your domain name. You can also change the logo, white logo and Favicon. Of course, you can change the Time Zone and Locale.Then click on the Save button.
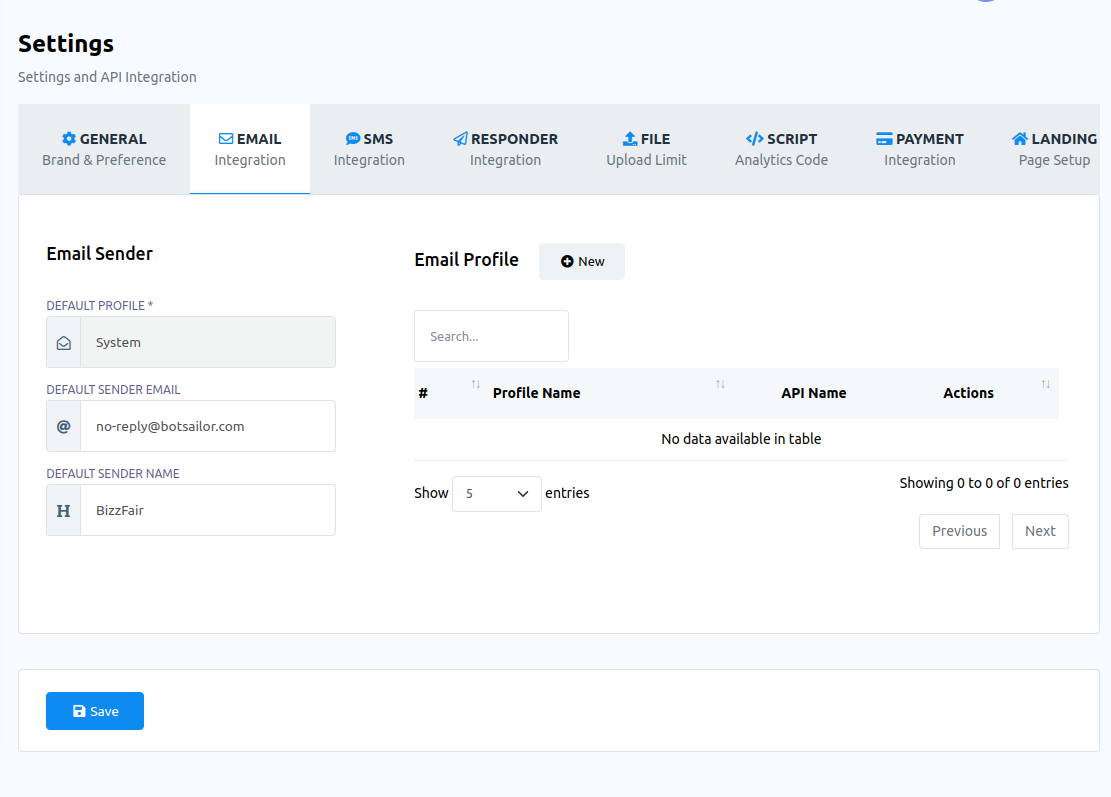
Email Settings
Go to Settings menu, then go to the Email tab. Here, you can add an Email sender. To add an email sender, first you have to add an email profile.To add an email profile, click on the new button. The system mail settings for you and your end users will be used. It's okay if you don't want to add any profiles. You'll still receive the default email profile from BotSailor. These email profiles will be used for system email sending purposes, such as sending automated emails to subscribers exchanging email addresses using Whatsapp/Telegram bots, password reset, email verification, and other system email sending purposes.
Instantly, a Modal form will appear with a list of email providers, such as SMTP, Mailgun, Postmark, SES, Mandril. You have to select the email provider agency you want to add. For example, select Mailgun, and fill-out some fields.
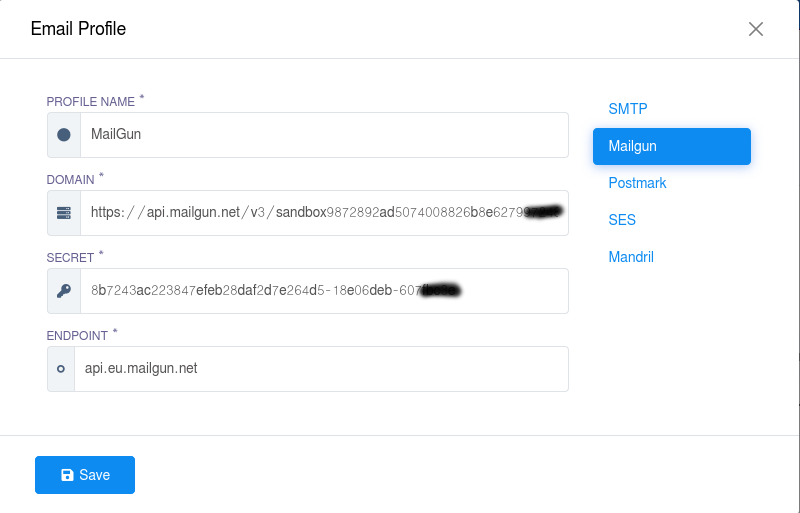
After filling out the fields, click on the save button. And the SMTP profile will be added. Likewise, you can add more email profile agencies. And the added email provider agency will be shown in the list.
Now you can select any of the profiles as the default provider. Click on the default provider field, a drop-down menu of added email provider agencies will arrive. And from the drop-down menu, you have to select an email provider agency.
SMS Setting
Go to Settings menu, then go to the SMS tab. Here, you have to add an SMS Profile. To add an SMS profile, click on the new button. These SMS profiles will be utilized to automatically send SMS messages to subscribers who share their phone numbers with a WhatsApp or Telegram bot.
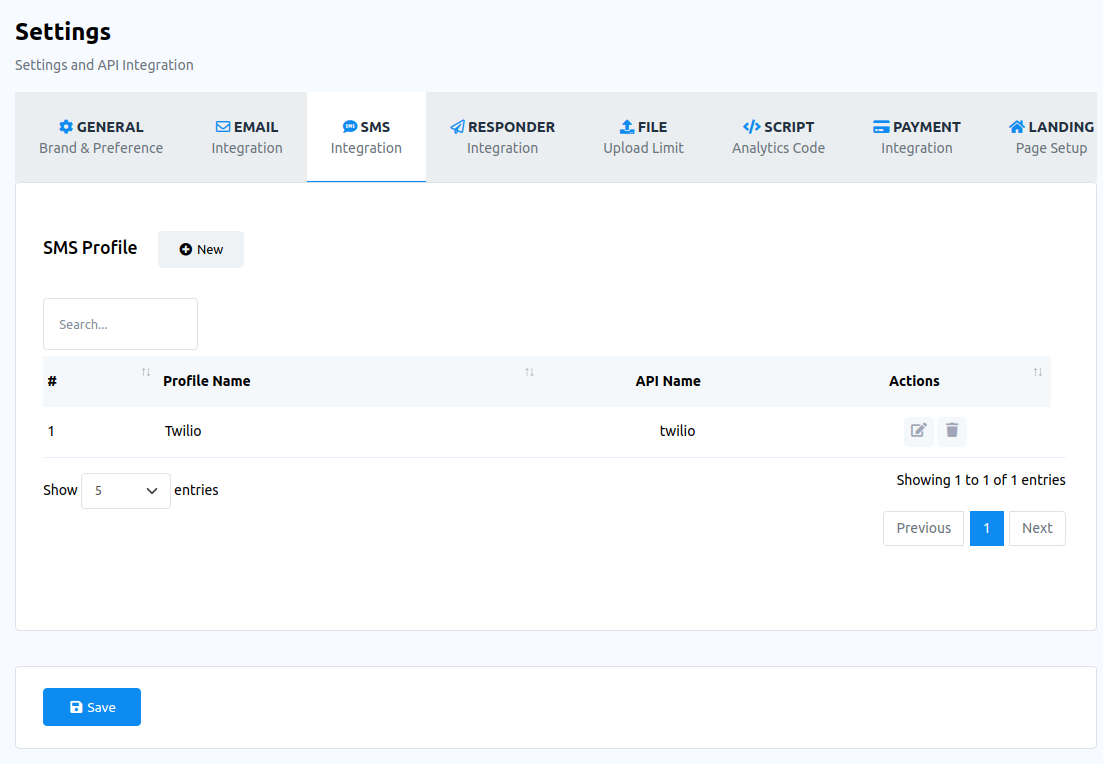
Instantly, a Modal form will appear with a list of SMS providers, such as Plivo, Twilio, Nexmo/Vonage, Clickatell, Africastalking. You have to select the SMS provider agency you want to add. For example, select Twilio, and fill-out some fields and click on the save button.

Responder settings
Go to Settings menu, now go to the Responder section. In the section, you can add an autoresponder profile and select a profile as the default. The shared emails of both bot subscribers and newly-registered users will be synced using the autoresponder profile.
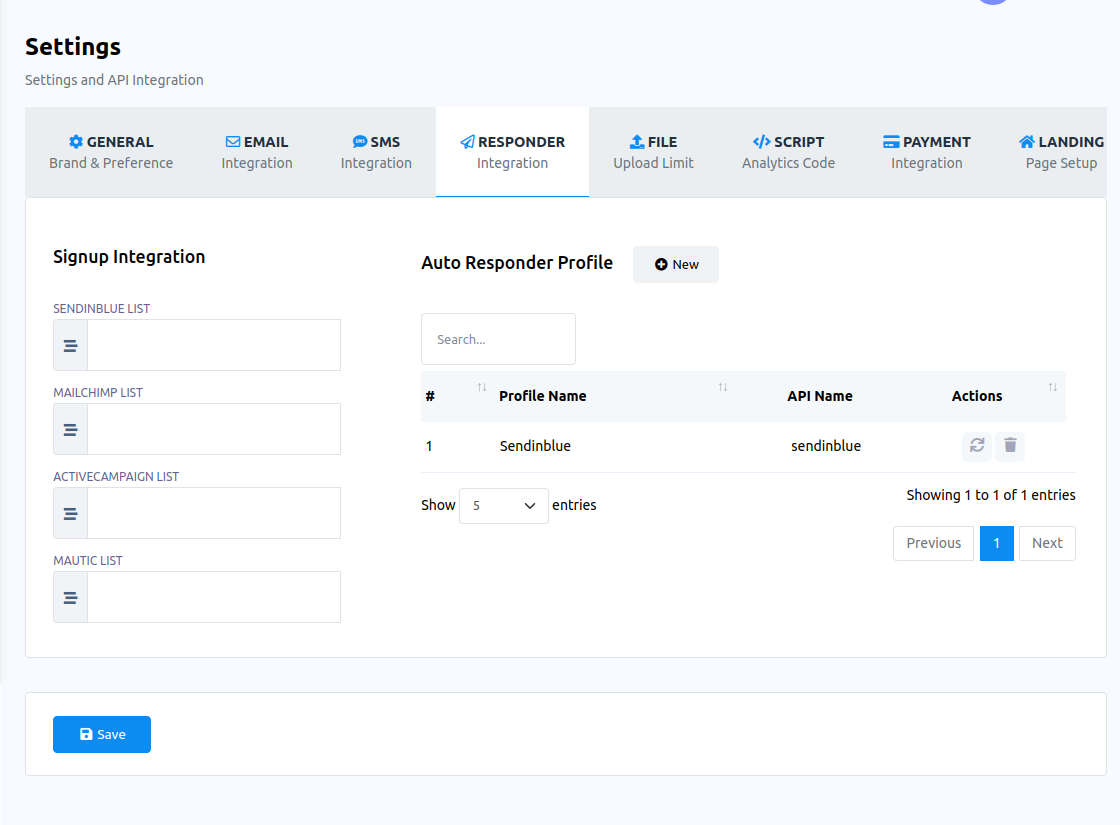
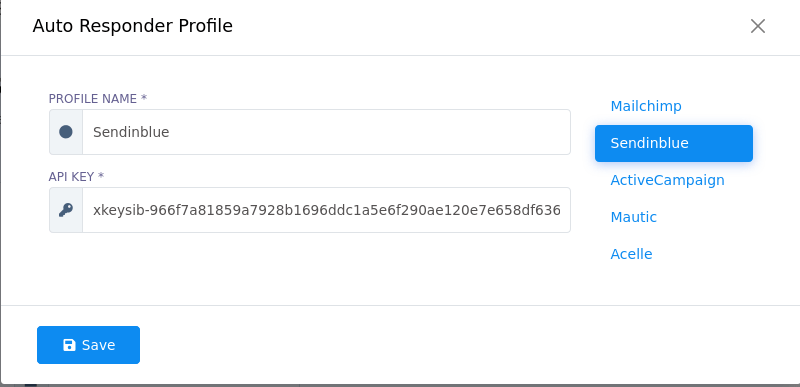
To add a Auto Responder profile, click on the New button and instantly a modal form will appear with a list of Auto Resoponder provider, such as Mailchimp, Sendinblue, ActiveCampaign, Mautic, Acelle. For example, select Sendinblue, and fill-out some fields and click on the save button.
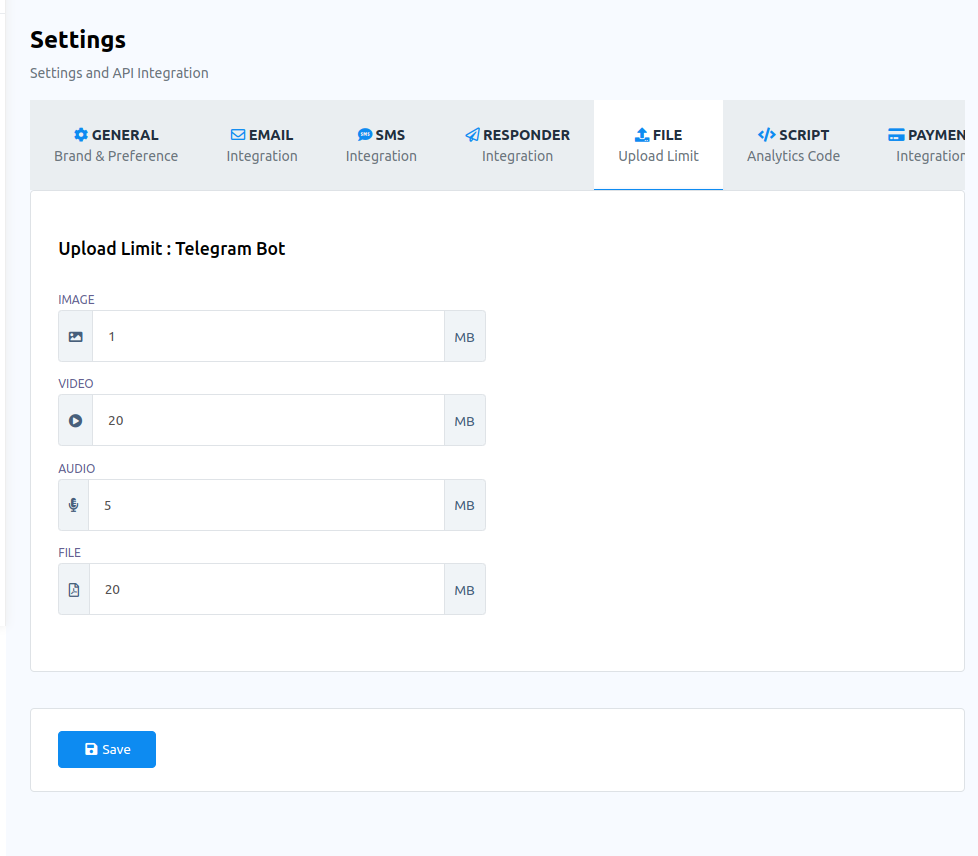
Upload settings
Go to Settings menu, then go to the upload section. You can specify the maximum upload volume for files, images, music, and videos that your end users are permitted to upload.
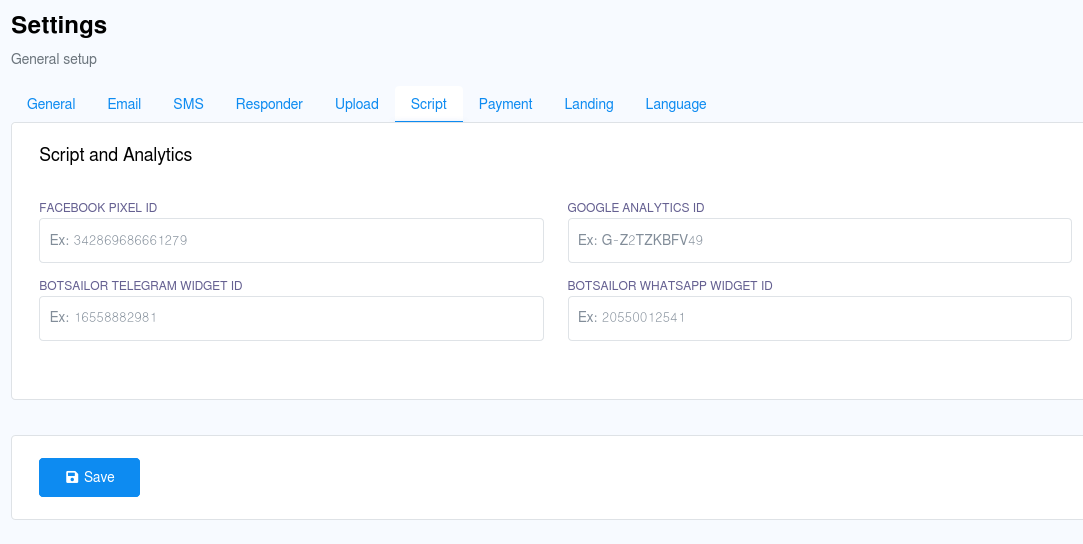
Script Settings
Go to Settings menu, then go to the Script section to provide Facebook Pixel ID, Google Analytics ID, BotSailor Telegram Widget ID, and BotSailor WhatsApp Widget ID. And after providing them click on the Save button. The analytics codes and chat widgets will both be present on the landing page for your agency, tracking visitor information.
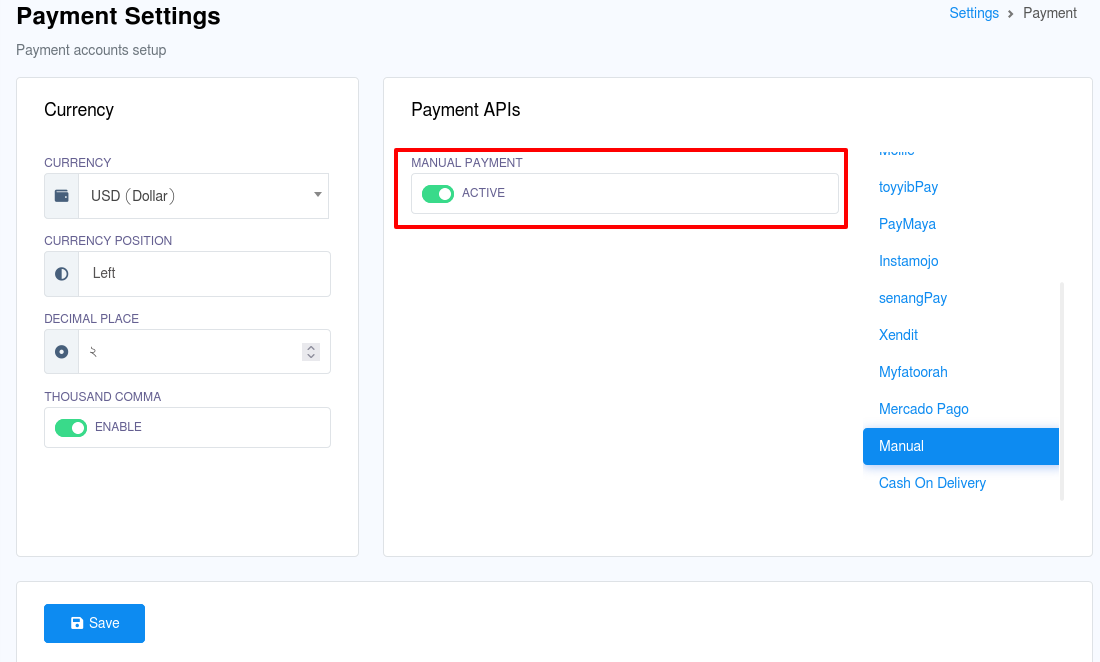
Payment Settings
Go to Settings menu, now go to the payment section and the payment settings page will appear. In this section, you have to set up a payment method you want to use to receive payment from your end-users. BotSailor supports multiple payment methods such as PayPal, Stripe, YooMoney, RazorPay, Paystack, Mollie, toyyibPay, PayMaya, InstaMojo, SenangPay, Xendit, Myfatoorah, Marcado Pago. And you can set up any of the payment methods.
For example, select PayPal, and fill-out some fields and click on the save button. And the Payment method will be added.

Also, you can activate Manual Payment and enable Chash on delivery.
Language Editor
Go to Settings menu, then go to the language editor section. Instantly, a page will appear with a button called add a language.

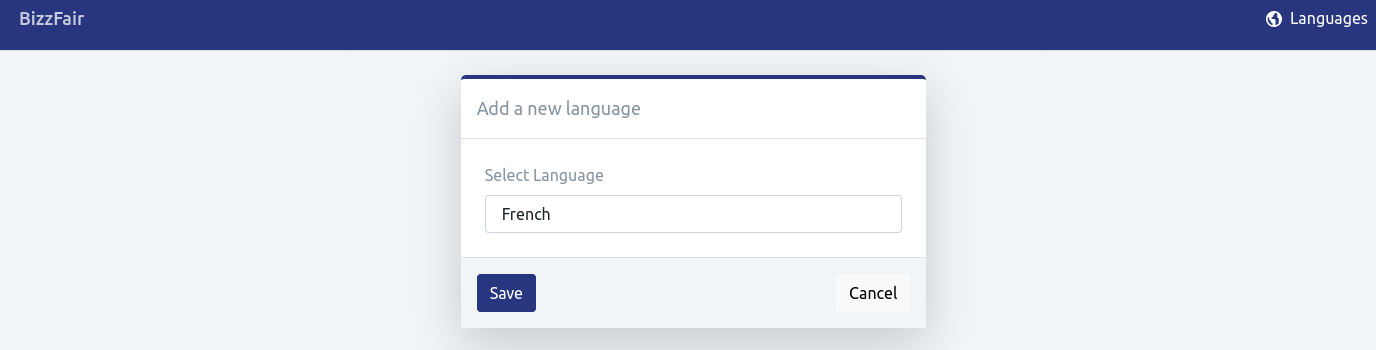
Then click on the add language button and another page will appear with a field.
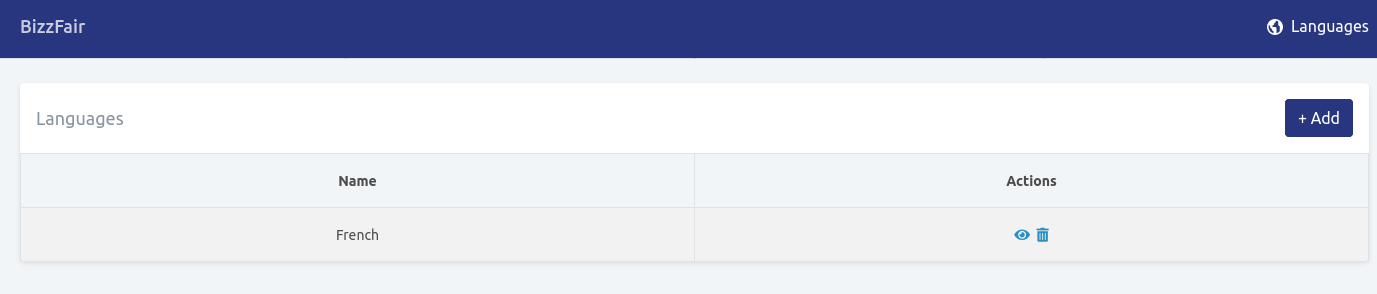
You must choose the language you want to add in the field. When you click on the field, a drop-down menu with various languages will show right away. Choose the language of your choice from the list. Then press the Save button. Additionally, the language will be kept and displayed on a page. By selecting the add option, you can also add another language.
If you want a language to appear on your domain, click on the eye button next to the language.
Just as you click on the button, a page called translation will appear. In the page, you can see the two sections-- English and the language you have selected.
In the selected language section, you have to provide translation of the main content in English. After providing translation for each field click on the Apply Changes button.
Now you can set this language as default language from Settings>General.
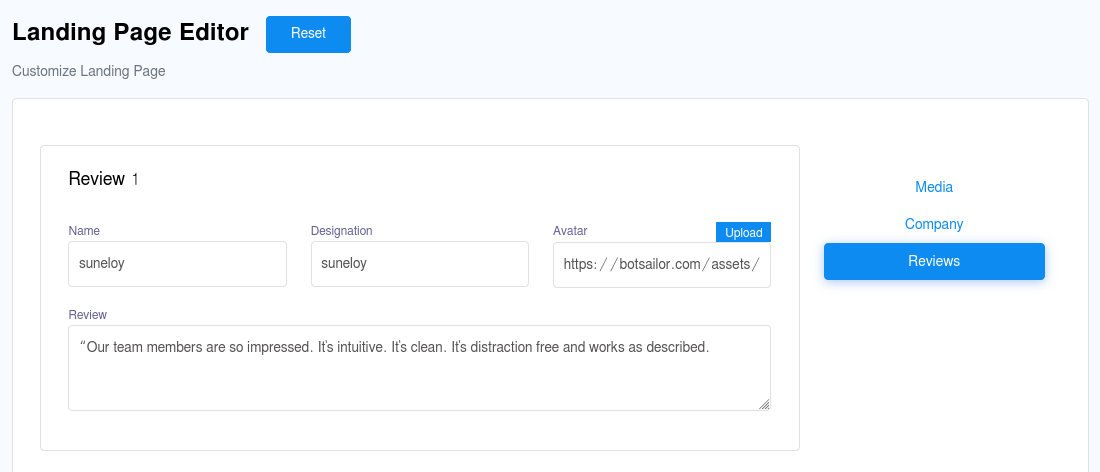
Landing Page Editor
A landing page editor will open as soon as you select Settings and then the landing page section. The resller landing page includes links to the company's social media pages, photos, and client testimonials. In this section, you can modify the display information. Change the image on the landing page by choosing the media option and doing so.
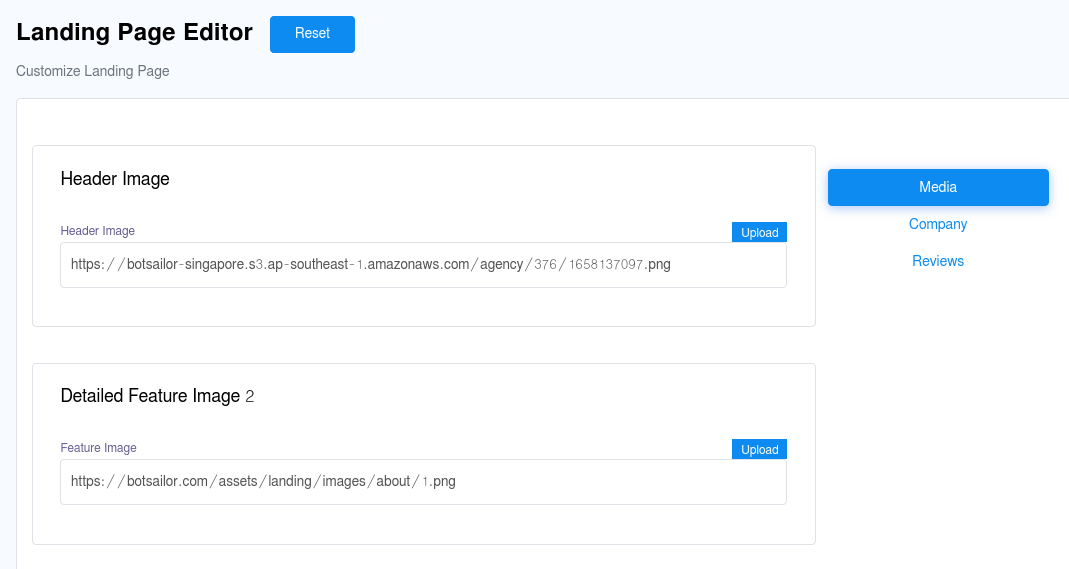
And if you want to change your company related information, select the company option and change the company related information.
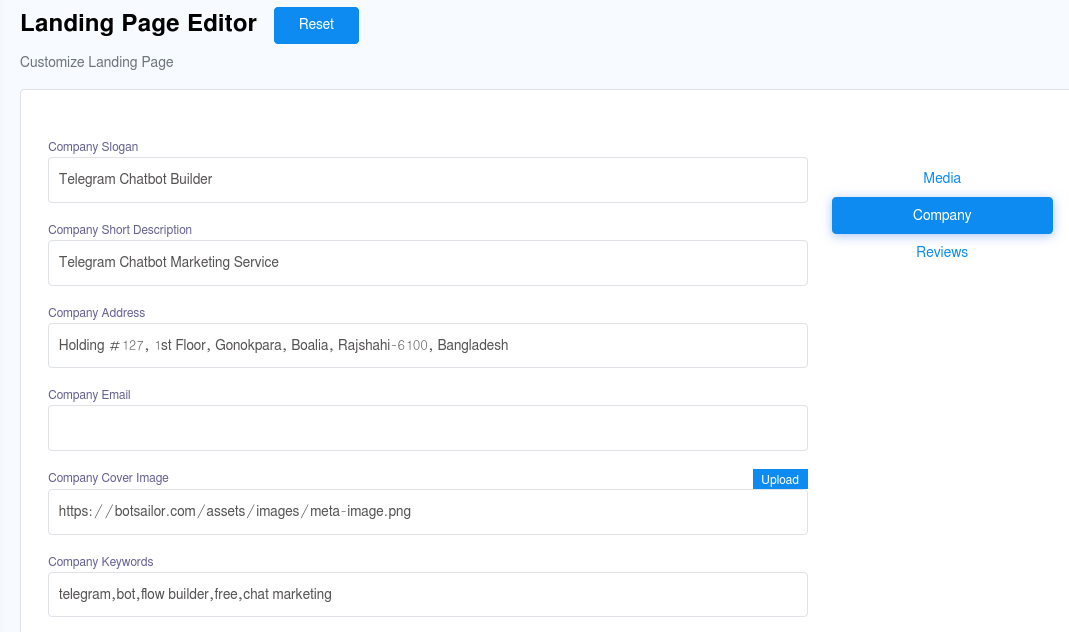
And if you want to change the reviews from the customer, select the reviews option and change the reviews.